THIS POST MAY CONTAIN AFFILIATE LINKS. PLEASE READ MY DISCLOSURE FOR MORE INFO.
Have you thought about how to start food blog for the longest time? Do you love to cook, take photos and post them on social media? Do you want a place to store all your recipes? If you answered yes, you’ve come to the right place!
That’s what happened to me and here I am with Jenuine Cuisine!
I must admit. When I first started my blog, it was very stressful and overwhelming. After I got a system going, I got the hang of it and you will too!
I just want you to know there’s so much helpful information out there.
Here are the basic steps on how start your food blog.
Step 1: Domain and Hosting
You might be thinking that you should start with a free blog. I highly recommend that you purchase hosting. Why? Web hosting companies provide technology and services needed to store websites onto the internet. Hosting is like renting space on the internet. Also, when you purchase hosting, you will get your domain name for free.
I use Bluehost to host my website and it is one of the largest hosting companies. You want to go with a big company like Bluehost as they make it easy to start a blog and provide 24/7 support.
If you use my link you can get hosting for as little as $3.95/month. This is super cheap and keep in mind that when it’s time to monetize your blog, the advertisement companies only work with self hosted blogs, not free ones.
First you have to make sure the domain name is available. Go to Bluehost and type the name into the new domain box to see if it’s available.
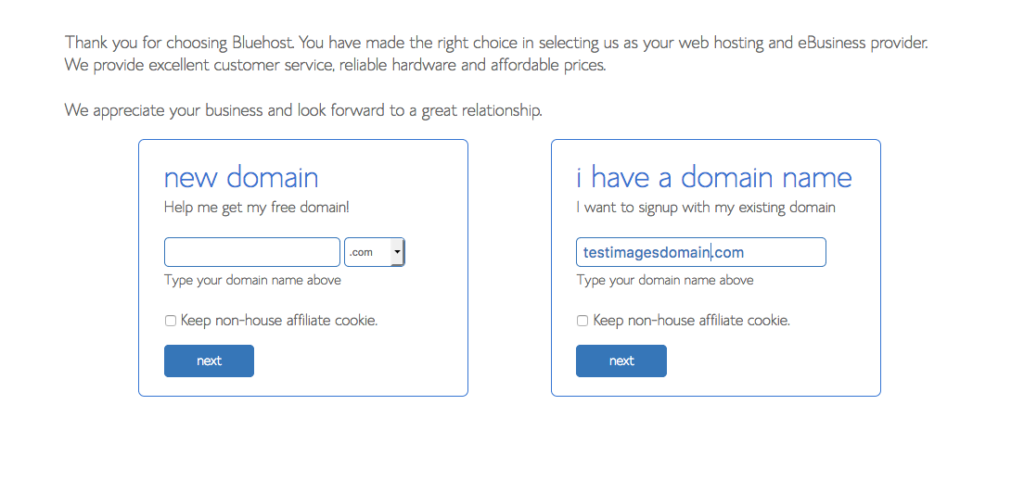
What are you going to name your blog? Make it catchy, unforgettable and genuine! My domain is JenuineCuisine.com
If your domain is available, it will take you to a window to create your account and select your plan.
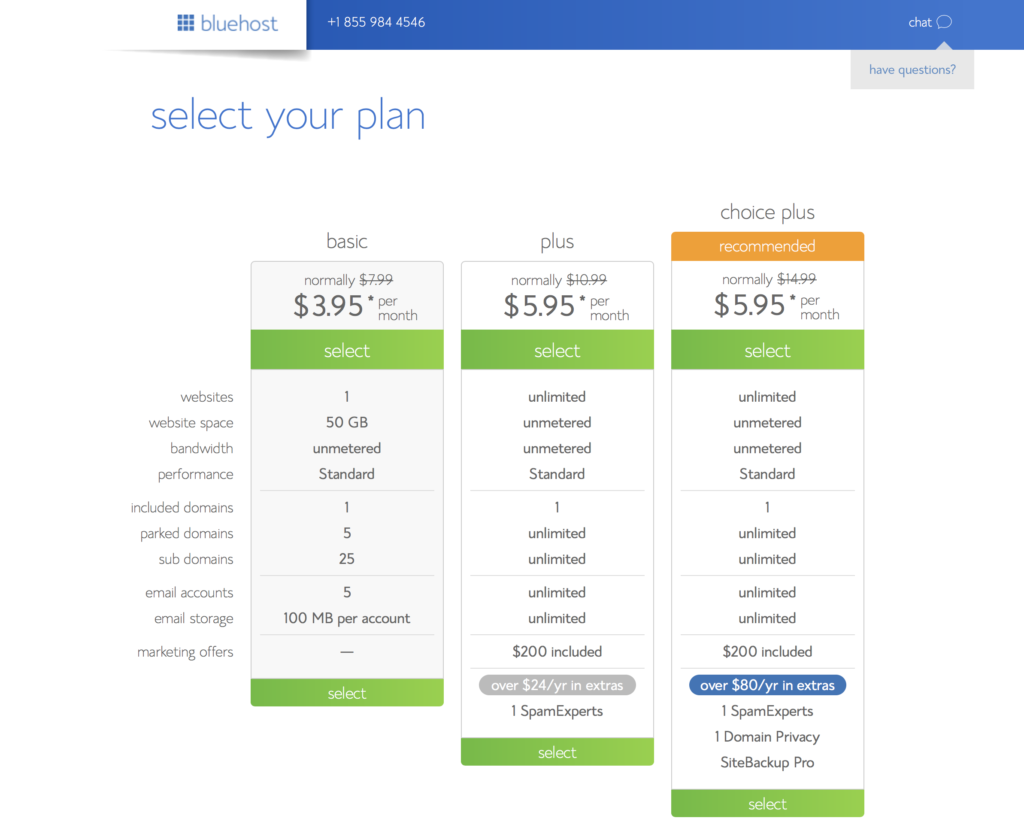
All you need is the basic 24 month plan and by paying the full amount upfront, you get it at the cheaper price of $3.95/month and you also get the domain name for free.
After you select your plan, it will take you to the package information window.
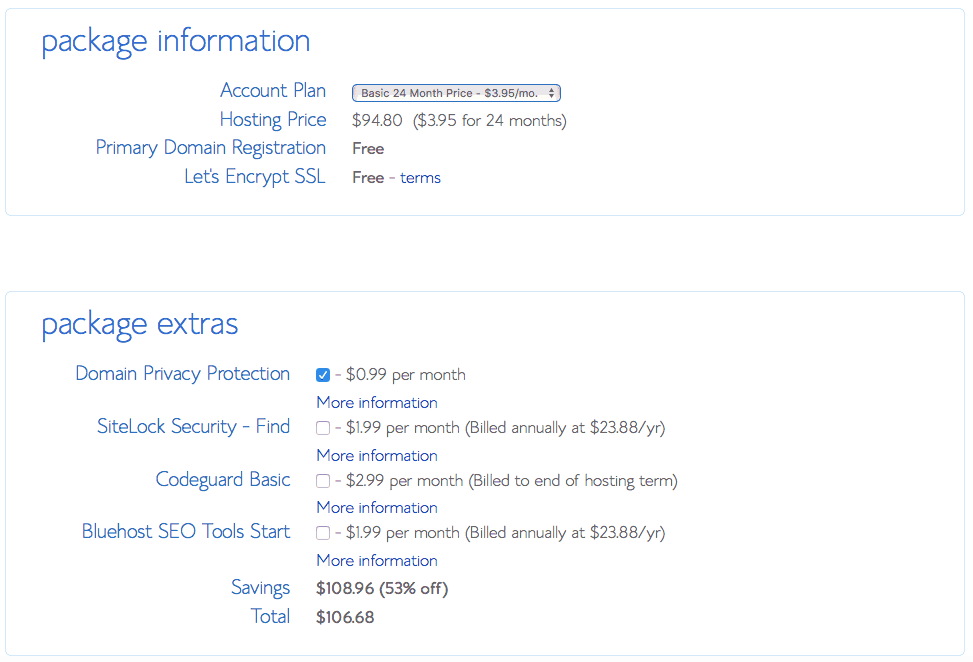
I highly recommend selecting the domain privacy protection. It’s a small price to pay to keep your personal address and phone number private.
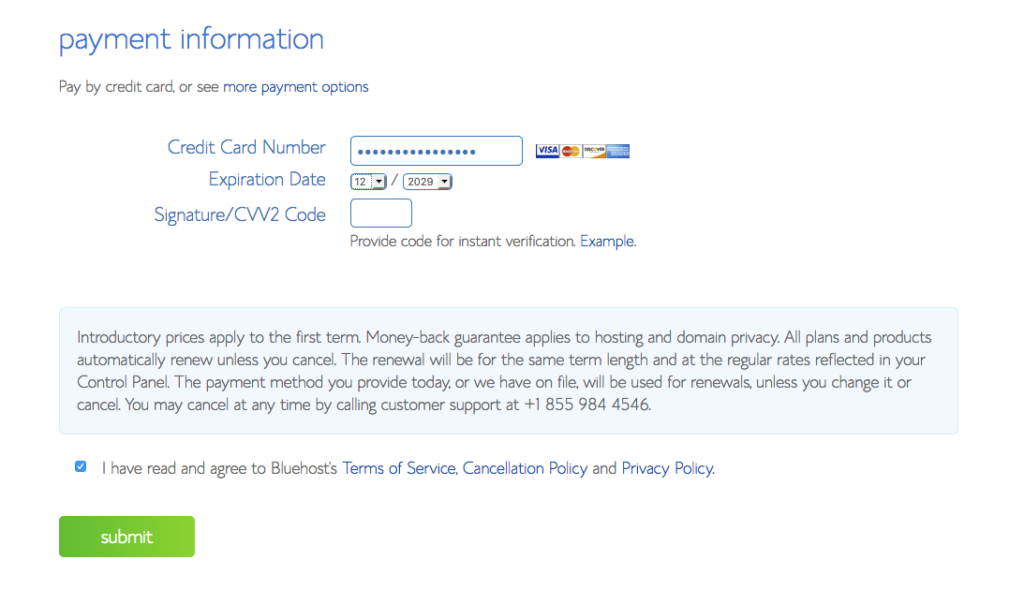
Enter your payment information to purchase your hosting.
Step 2 : Create Password & Login
After submitting your payment, you will create your password and login.
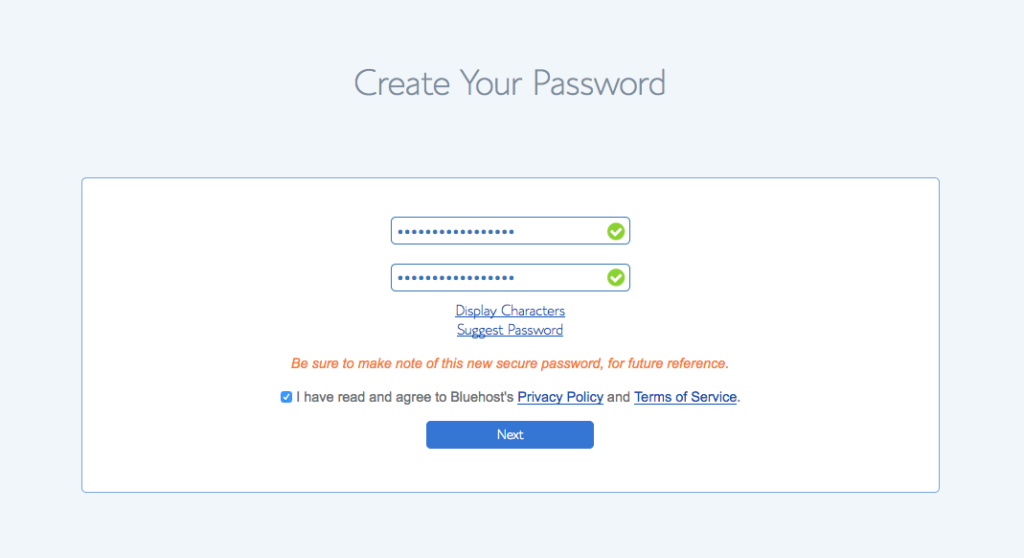
Enter your super secret password and then…
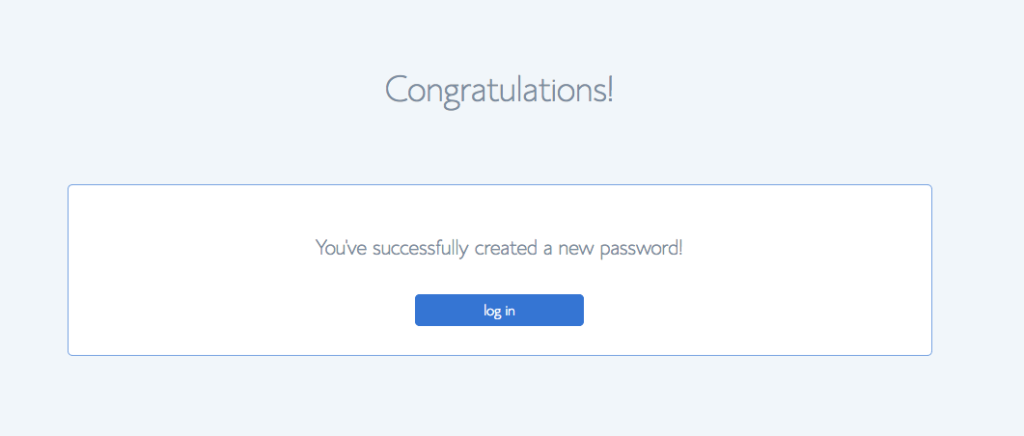
Step 3 : Designing Your Blog
Log into Bluehost and it will ask you to pick a theme. WordPress has lots of free themes and then there are ones that you can buy. For Jenuine Cuisine, I have the Genesis Frame Work and Divine Theme.
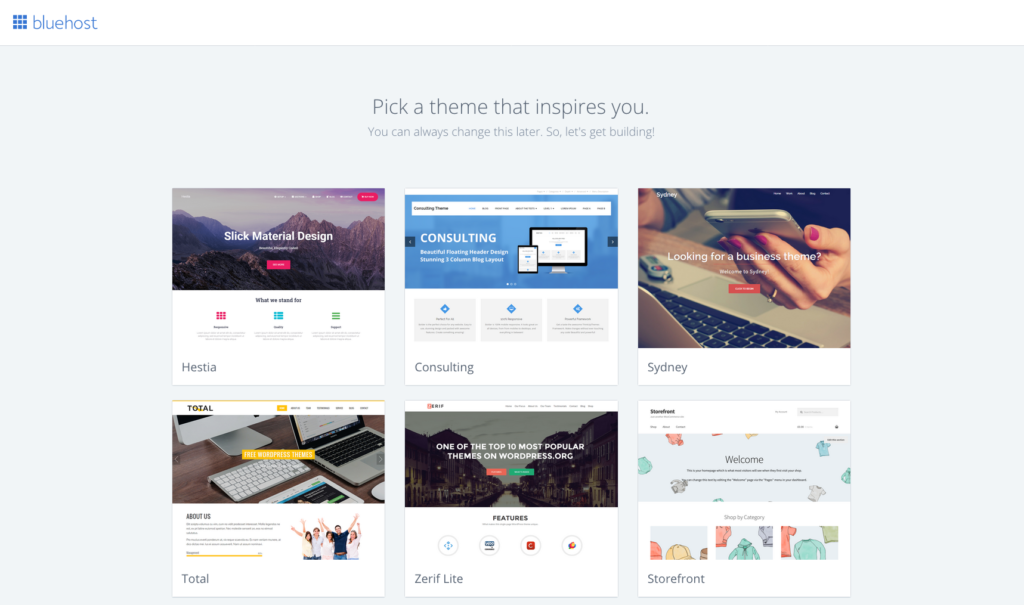
After selecting your theme, Bluehost will install WordPress after which you will see this window.
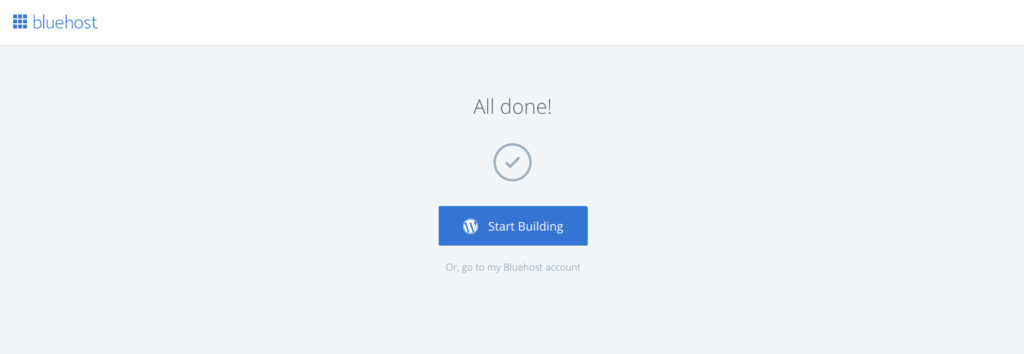
Click on Start Building. You officially have a blog! Now you can begin to design it which is the fun part!
Select the type of setup you want.
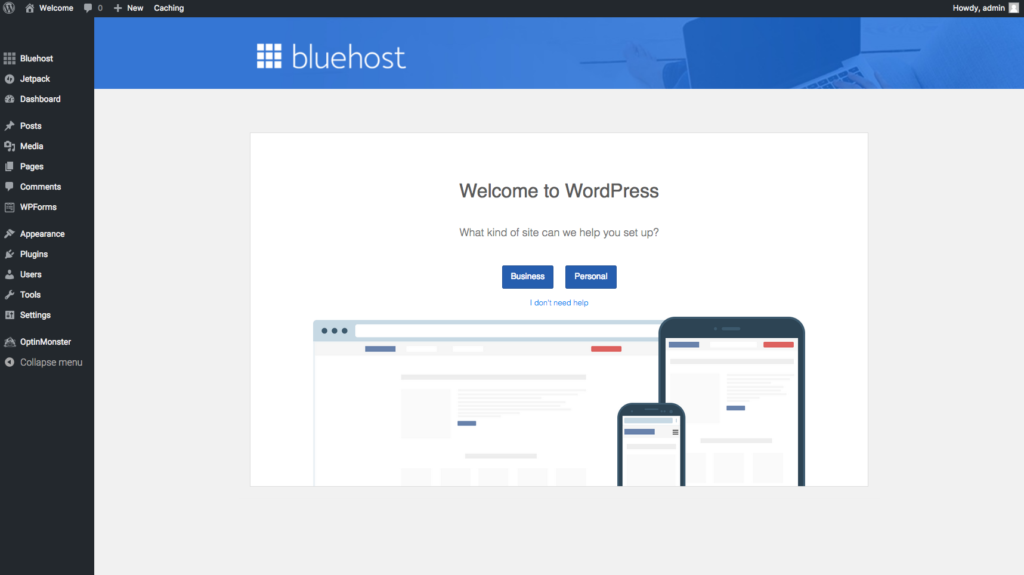
This is your WordPress Dashboard where you can add posts and pages.
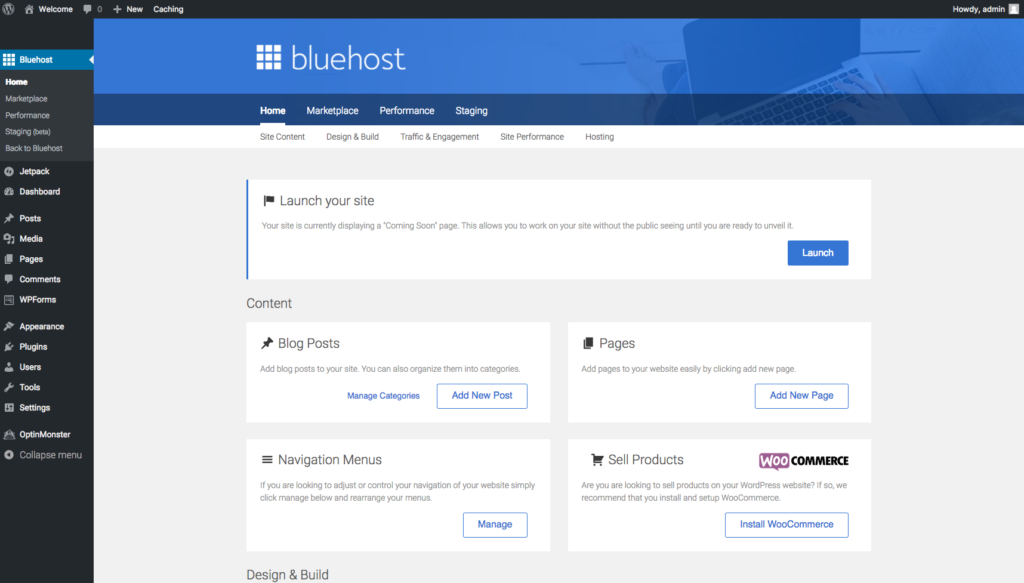
Now the work/fun part begins… Before you can type up your recipe and slap on some tasty pictures, you still need to set your blog up in WordPress.
I’m not going to lie. There’s so much to learn!
Luckily for us, there’s a lot of help available. For me, I used Food Blogger Pro to help me get started. Let me tell you more about it here.

